If you have a water heater leak, it can be a frustrating and potentially costly problem. However, there are some steps you can take to fix the leak yourself, potentially saving you the cost of hiring a professional. This guide will walk you through how to fix a water heater leak and prevent future leaks from occurring.
Fixing a Water Heater Leak Steps
Step 1
Turn off the power and water supply to the water heater. Before attempting any repairs, turning off the power to the water heater is essential to prevent the risk of electric shock. You should also locate the main water supply valve and turn it off to stop water flow to the heater.
Step 2
Determine the source of the leak. The first step in fixing a water heater leak is to determine where the leak is coming from. Common sources of leaks include the pressure relief valve, the water inlet and outlet connections, and the tank itself.
If the leak comes from the pressure relief valve, also known as the T&P valve, it may simply need to be tightened or replaced. To tighten the valve, first, locate the valve, which is usually located near the top of the water heater. Then, using a wrench, tighten the valve by turning it clockwise. If the leak persists, the valve may need to be replaced.
If the leak comes from the water inlet or outlet connections, it may be due to a loose connection or a damaged hose. To fix a loose connection, tighten the fitting with a wrench. If the hose is damaged, it will need to be replaced.
If the leak comes from the tank itself, it could be due to corrosion or a manufacturing defect. In this case, the tank will likely need to be replaced.
Step 3
Repair or replace the faulty component. Once you have identified the source of the leak, it’s time to make the necessary repairs. For example, if the leak comes from the pressure relief valve, tighten or replace the valve as needed. If the leak comes from the water inlet or outlet connections, tighten the fitting or replace the hose. Finally, if the leak comes from the tank, you will need to replace the entire tank.
Step 4
After the repairs, testing the water heater is essential to ensure the leak has been fixed. First, turn the power and water supply back on and allow the water heater to fill up. Next, monitor the water heater for signs of leaks. If the leak persists, you may need to try a different repair method or seek professional help.
Step 5
It’s essential to maintain your water heater regularly to prevent future leaks. This includes flushing the tank at least once a year to remove any accumulated sediment, checking the temperature and pressure relief valve regularly, and replacing the anode rod every three to five years. It’s also a good idea to insulate the hot water pipes to reduce heat loss and keep the water in the tank hot, which can help extend the life of your water heater.
Fixing a water heater leak can be a relatively straightforward process if you take the time to diagnose the issue and make the necessary repairs properly. By following the steps outlined above, you can fix a water heater leak and prevent future leaks.
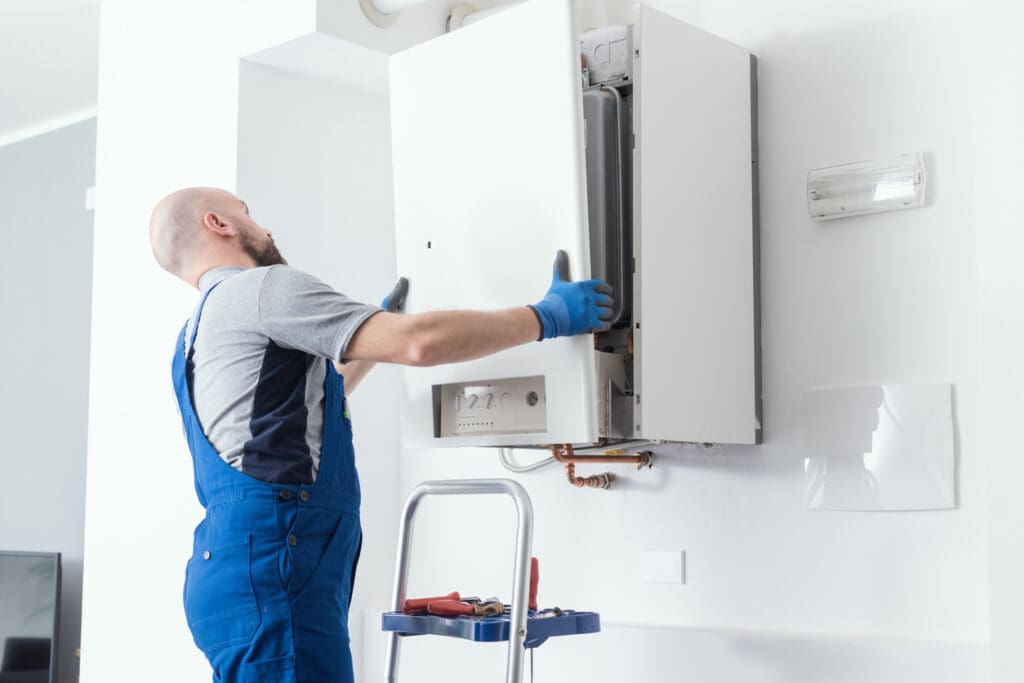
It’s also important to remember that water heaters can be dangerous to work on, as they contain electricity and gas. If you are not comfortable working on your water heater or are unsure how to fix the leak, it’s best to call a professional plumber like the team at Goodbee Plumbing.
If you do decide to tackle the repair yourself, make sure to follow all safety precautions. Wear protective gear, such as gloves and goggles, and read and follow the instructions in the owner’s manual.
In addition to the steps outlined above, there are a few other things you can try if you are having trouble fixing a water heater leak.
Additional Ways to Fix a Water Heater Leak
One option is sealing the leak with a water heater repair compound. These compounds are designed to seal small leaks in the tank and can be found at most home improvement stores. To use a repair compound, simply clean the area around the leak, apply the compound according to the manufacturer’s instructions, and allow it to dry.
Another option is to replace the gasket. The gasket is a rubber seal between the tank and the heating element. If the gasket is damaged or worn, it can cause a leak. You will need to remove the heating element and install a new gasket to replace the gasket. This can be a tricky repair, so it may be best to seek the help of a professional if you need more confidence in your ability to complete the repair.
If you still have trouble fixing the leak after trying these methods, it’s time to call a professional. A plumber can diagnose the problem and make the necessary repairs to fix the leak.
In addition to fixing the leak, it’s also a good idea to consider replacing your water heater if it is old or inefficient. Older water heaters are more prone to leaks and other problems and may not be as energy efficient as newer models. If your water heater is more than ten years old, it may be worth replacing it with a newer, more efficient model. To learn more about our experience with water heaters, contact us today.
Fix a Water Heater Leak with Goodbee Plumbing
Fixing a water heater leak can be a challenging task, but it is something that most homeowners can do themselves with the right tools and knowledge. Following the steps outlined above, you can fix a water heater leak and prevent future leaks. Just be sure to follow all safety precautions and, if necessary, seek the help of a professional plumber.